The Complete Beginners Guide to Making a Wreath

When the glory of warm season finishes we notice a steady change in...
Shopping Bag

Before I even start fiddling and creating, I always clear a sizeable workspace, gather my tools, and make sure my materials are in order. Organisation and a little pre-planning help making a wreath that much easier!
You should do the same – find a large workspace such as your dining table or a dedicated crafts bench, clear it, and gather the following tools and materials listed below:
Tools Needed
Although the list of tools is short, the quality is important and I advise spending a little more on items to make your work easier.
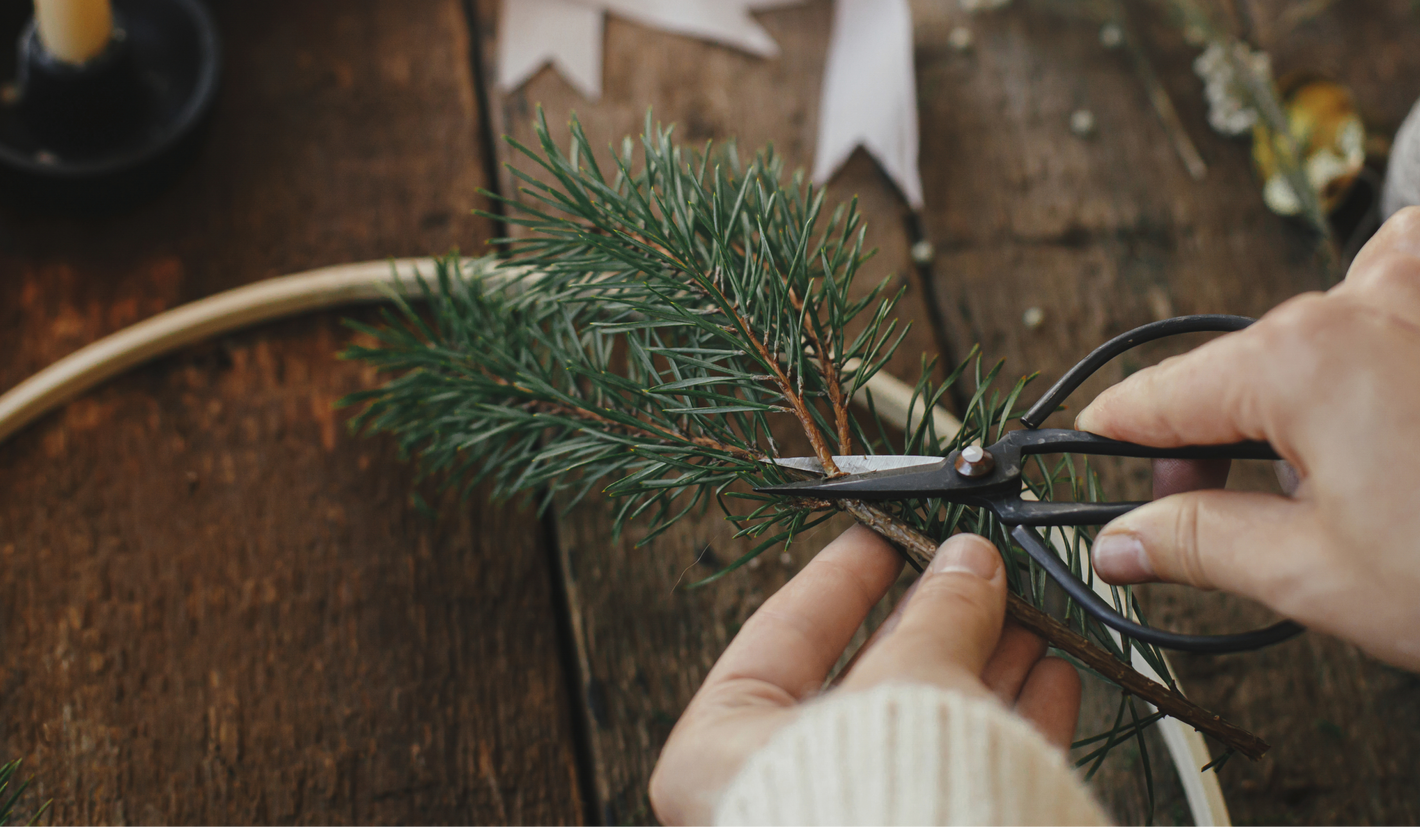
Secateurs and scissors are essential for pruning, trimming, and shaping your greenery and decorations. I opt for carbon scissors due to their durability and incredibly sharp cutting edge.
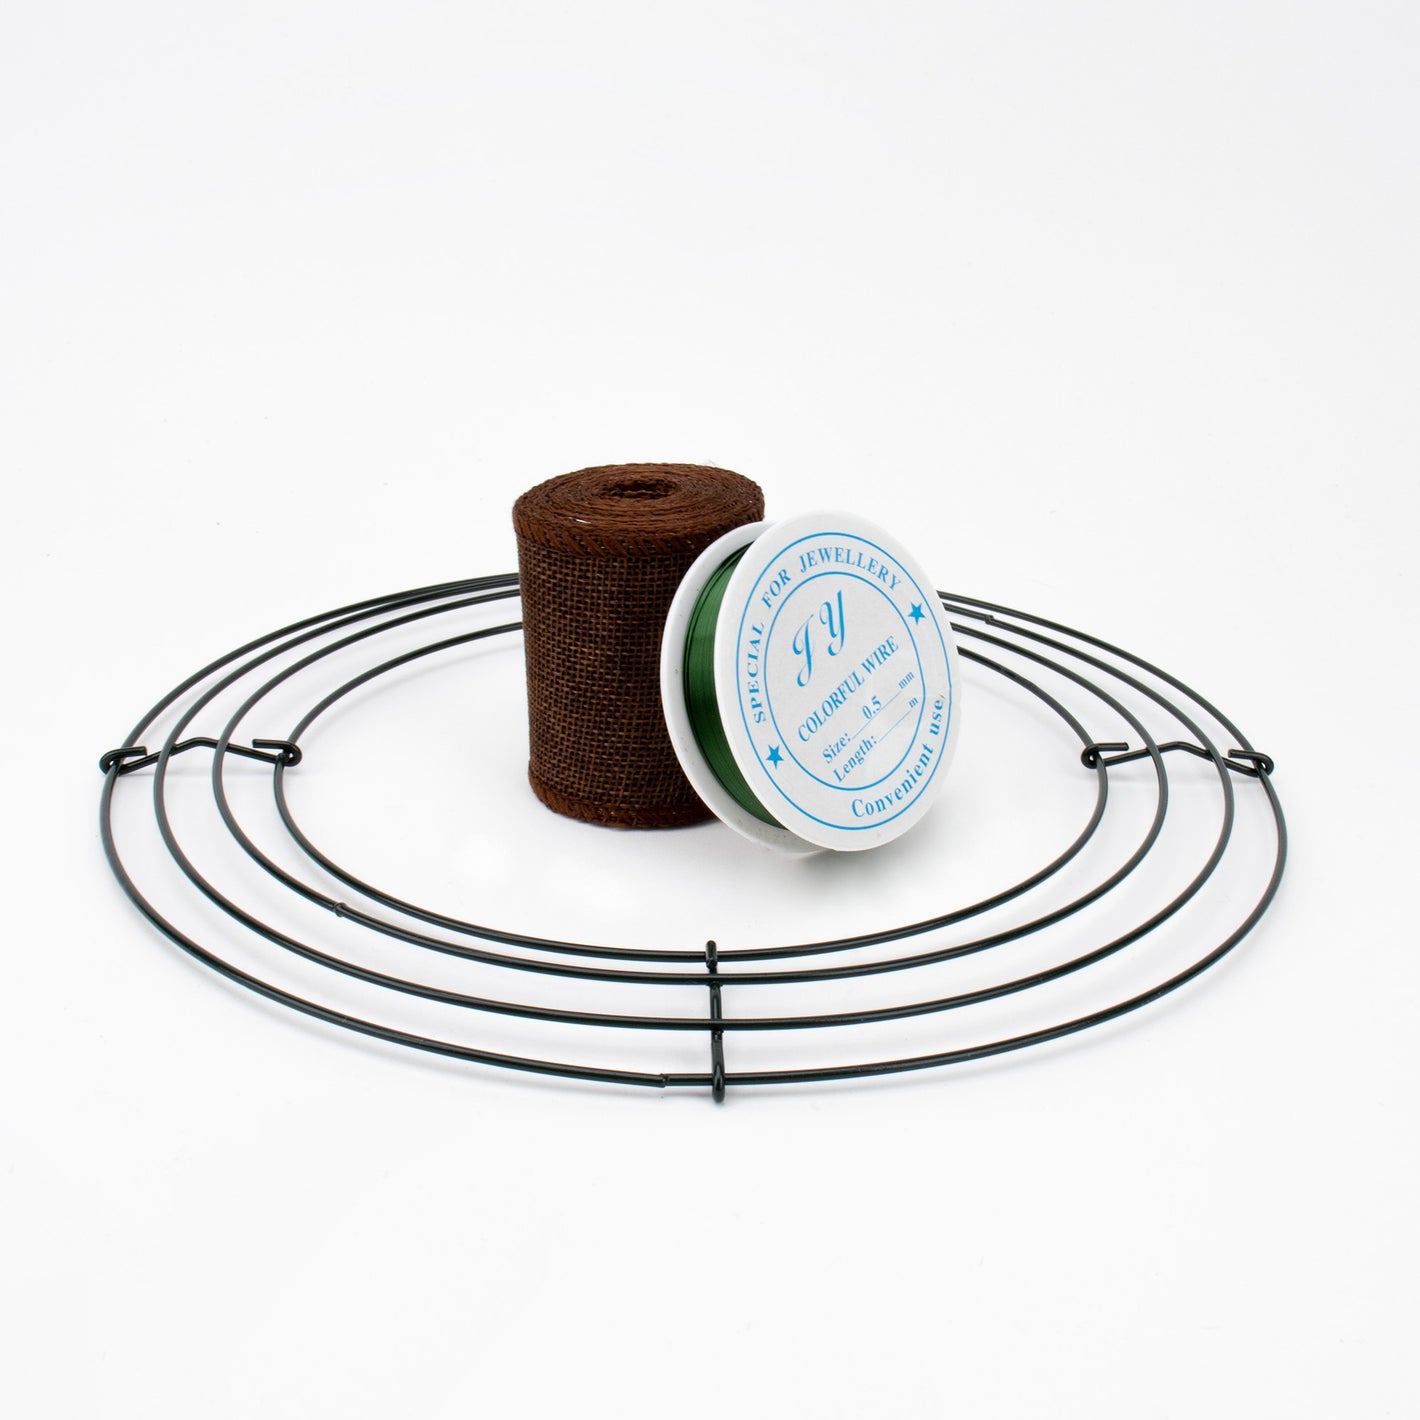
Wire or twine is another must-have tool and I keep this in reels for ease of use – you will be using this to secure the greenery and moss to your wreath base.
Similarly, depending on the type of wreath, you may want a moss base in which instance moss pins and wreath wrap are brilliant and help keep the shape and structure of the loose moss.
Materials Needed
The exact materials are varied and depend on the style of wreath, the look you want to achieve, and seasonal differences. However, there are three core components present in any wreath – the base, foliage, and decorative items.
The frame is vital and this forms the core of your wreath – it's what everything is attached to and what provides the rigidity. Wreath frames are usually made from copper or other metals but you can get natural frames made from twigs.
Wreath bases are an alternative and can be easier to work with as they are made from a foam ring that you simply stick the greenery and foliage into.
We then have my favorite part – the foliage and decorative items. The possibilities here are endless and I love the variety of colours, styles, and shapes you can weave into your wreaths. Foliage includes things like branches of spruce, pine, and yew, or seasonal greenery like holy.
This is where your creativity can shine and it's important to select the foliage and flowers carefully to match the theme and colours you want to create.
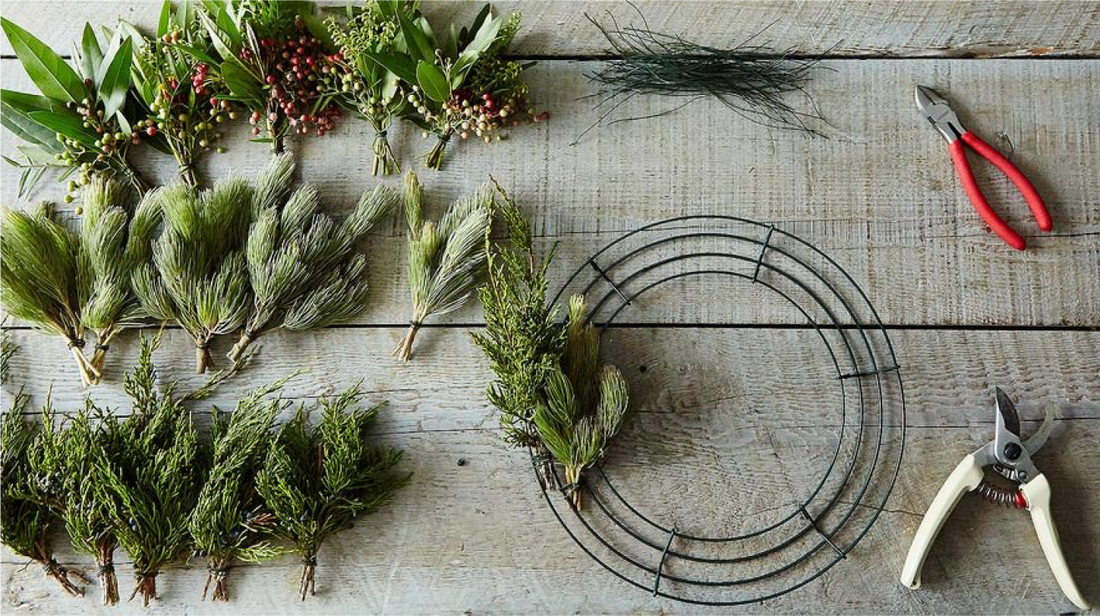
Once I have gathered my foliage and flowers it's time for a little pruning and conditioning. I do this first to save time while making the wreath. To prune, you need to use your secateurs or scissors to trim the foliage into workable sizes that fit on your wreath frame neatly.
So, you've got your tools ready, your materials are pruned and organised and you have a nice clear working area. Let's get started on making your wreath! This is the part I love and once you get used to the basic process, you will enjoy the creativity it allows and the fun process of crafting your stunning wreath.
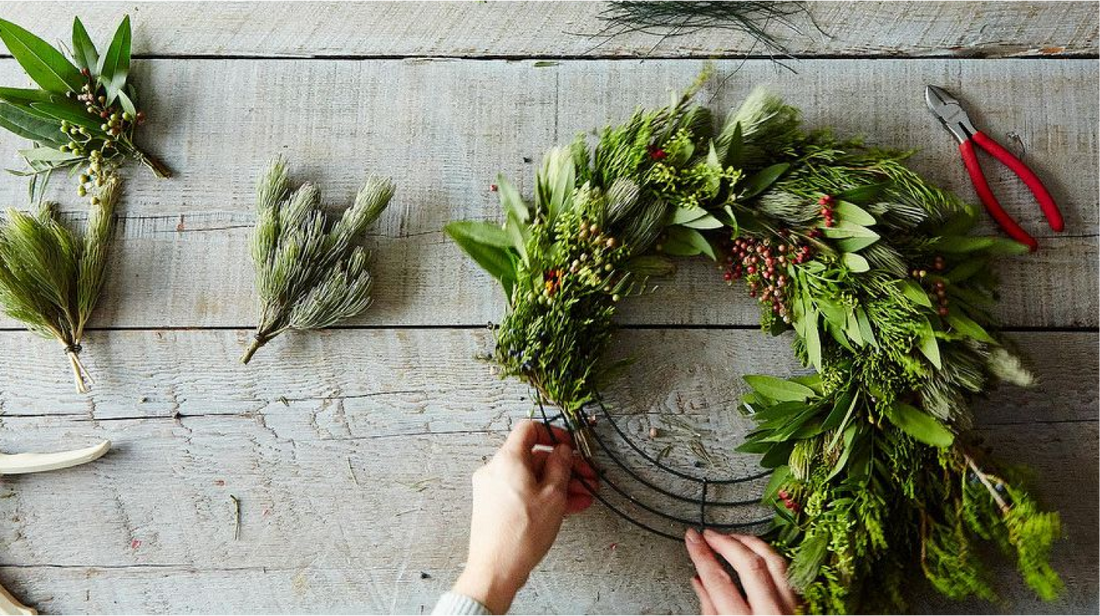
If you are using a wreath frame, I recommend creating a moss base. Moss is easy to work with and when packed densely it forms a fantastic base from which you can easily attach your foliage. Moss also retains water and dampness and really helps keep your greenery looking lively and fresh for longer.
The simple process is to use your wire reel to wrap around the moss and lock it in place on the frame. Start by tying the end of your wire to the top of the frame (don't cut it to a length – keep it on the reel). Next, carefully break the moss into smaller clumps or sausage segments and tightly cover the entire frame with it.
You should now have a chunky circle of moss and this can actually create a beautiful wreath in its own right! If you don't do anything else though, the moss will just drop off when you lift it up and we don't want that!
To secure it, take the wire you have previously attached and tightly wind it around the moss in one-inch intervals. Make sure that at each revolution you pull it tight for maximum stability. Once you have done this the entire way around, keep the wire attached to your reel as we will need this for the next step.
You should now have a stable moss base to work with. At this stage I typically assess the dampness of the moss and if I think it's feeling a little dry, I give it a light spritz with water.

With a beautiful ring of moss, you now have something stable to work with to bind your foliage/greenery to.
To make things easier and to get a varied color pallet I usually divide the foliage into bundles – similar to a small bouquet of flowers. Select your first mini bouquet, place it on top of a section of the moss, and then wrap the wire reel around it in the same way you secured the moss.
It's a simple process of then repeating this around the entire moss wreath base to create a complete circle. Some handy tips for placement and visual appeal include:

You could leave your wreath at this point and call it finished! Indeed, foliage wreaths without any additional decorations and accessories can look fantastic.
If you really want to go all out and add an extra layer of depth, colour, and detail to your wreath, however, it's time to start accessorising!
The exact process for adding accessories does depend on what they are, but I will explain an example of a pine cone. Cut a length of straight wire from your reel and thread it through the pine cone so it can hang from it.
You then have to place the cone onto the foliage and poke the wire through the foliage and moss base so it pops out of the back. To secure it, simply twist the two end together and push them flat to the moss base. This method works for a wide range of accessories and don't be afraid to pierce the flowers or berries for example if you can't easily loop the wire through. Some helpful tips to remember include:
At this point you should have a beautiful wreath complete with stunning foliage and accessories. I now usually add a backing to the wreath to help contain the moss and stop bits from falling out. I've then added some handy storage tips.
Applying backing
Until now, the back of the wreath is exposed and you probably have an array of moss pieces on your work surface! To combat this and to provide a little extra security it's a great idea to apply a backing to your wreath.
This is where the wreath wrap is used. Starting at the top, place a strip of wreath wrap from the outside to the inside with a diagonal slant and fix both ends with moss pins.
The next strip should then go from the inside to outside in the same diagonal direction and have some overlap with the previous strips. You are essentially creating a zig-zag pattern to cover the entire moss base on the back side only with folds when the wrap cross back the opposite direction.
Storage
If your fresh wreath has natural foliage and you water it regularly you can expect it to last for 6-8 and longer. Natural wreaths are seasonal though and will need to be replaced.
You can consider the environment, however, and re-use the wreath base multiple times. Also, to be environmentally conscious, consider recycling the foliage and natural decorations in your garden waste disposal.

Frequently asked questions
What is the best base to make a wreath?
A foam wreath base is easier to work with as you can simply stick the foliage and greenery into it. The foam also typically holds water so can help keep your greenery fresh for longer. A wire frame with a moss base can look better and is easier to hide, the moss also helps keep the foliage fresh – it's really personal preference.
Do you need a moss base for your wreath?
A moss base provides a fuller shape for your wreath and you can easily work your foliage into it. The live moss also holds moisture and helps keep your foliage fresher and damp for much longer. It essentially acts as a mini oasis that your flowers and greenery can draw nutrients from.
What do you need for a DIY wreath?
Essential tools include secateurs, scissors, wire, moss pins, wreath wrap, and something to hang your wreath with like a wreath hanger. Materials needed vary depending on your wreath design, but you need either a wreath frame or base, foliage like pine branches, and decorative items like flowers and plants.
You have 0 items in your shopping bag