How to Make a Wreath of Flowers for Hair: Charming DIY Tutorial
.
( min read )

When the glory of warm season finishes we notice a steady change in...
Shopping Bag
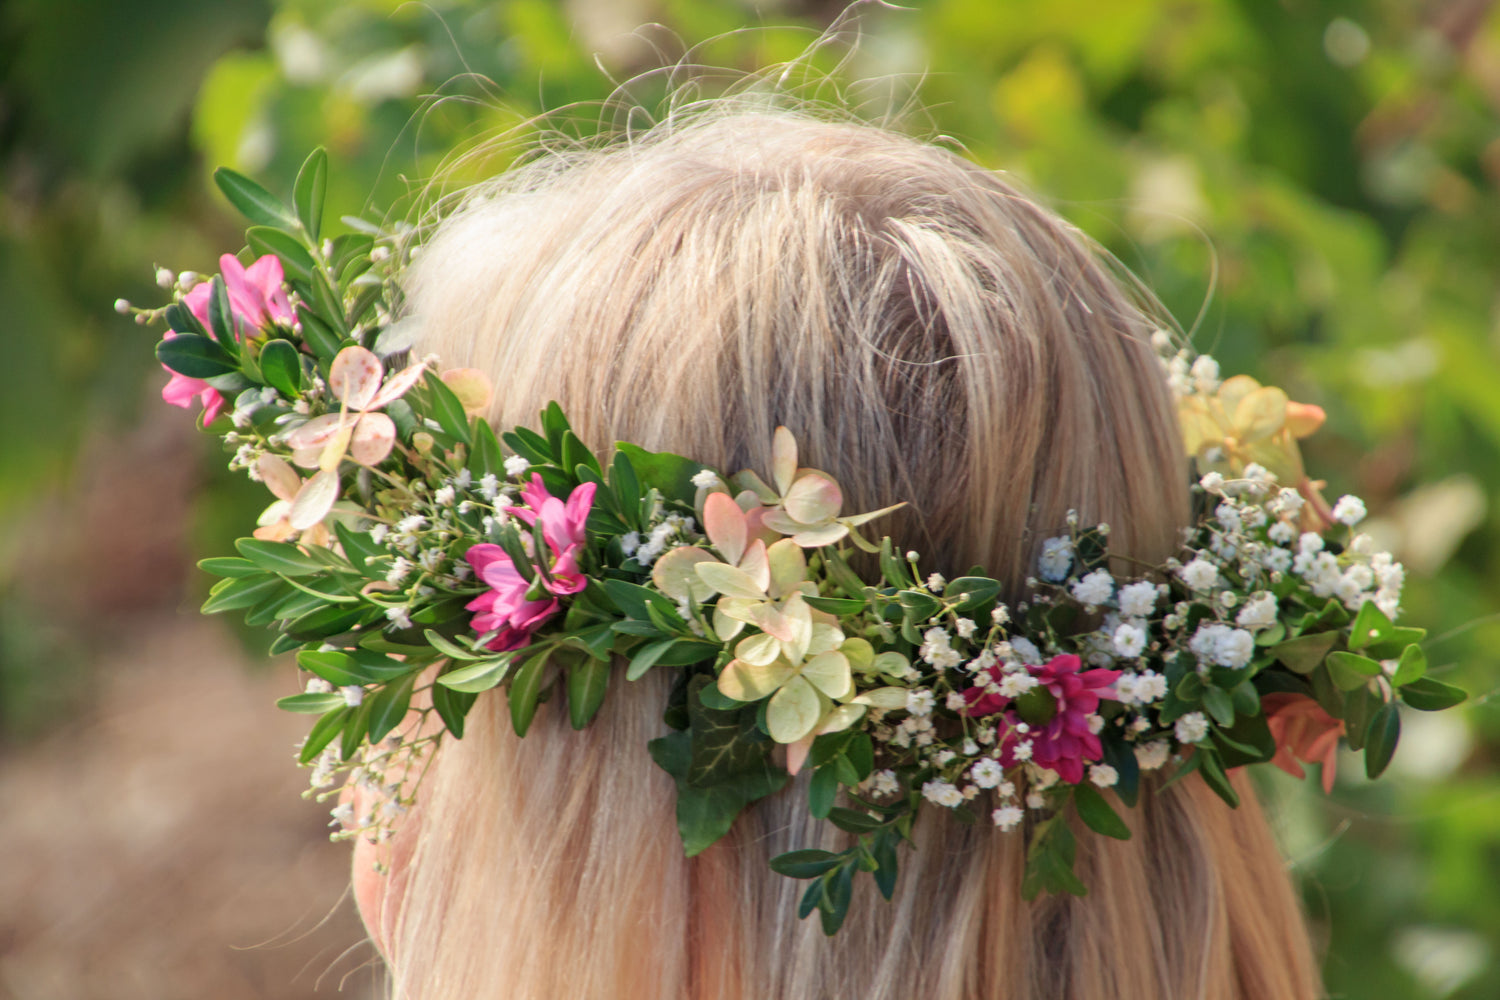
Wreaths aren't only hung on doors! They come in many shapes and sizes and you may not know, but they can be worn too! The more commonly used term is a wreath crown or flower crown depending on the style – think of the laurels or flower crowns that Roman emperors or fair maidens from bygone eras used to wear.
The concept is simple – you have a thin wire frame that serves as the headband and fits over your head. To this, you attach a range of greenery and flowers to create a stunning, beautiful wreath of flowers that can be worm for many different occasions.

For example, flower crowns are becoming especially popular for wedding where the bride wants to wear something different other than a tiara. Similarly, bridesmaids and flower girls could wear them too. Many people simply like to wear flower crowns instead of a headband or as a fashion accessory too – they are especially versatile.
If this is something you are interested in, I have created a guide on how to make a wreath of flowers for hair below!
You will be surprised at how easy it is to make a wreath of flowers for hair, but once you have the right materials and understanding, I estimate you can create one in less than 30 minutes with practice.
What flowers and greenery you choose depends on the style of the flower crown, the occasion, and what the recipient (if not yourself) will prefer. Some examples to consider include:

Daisy

Rose
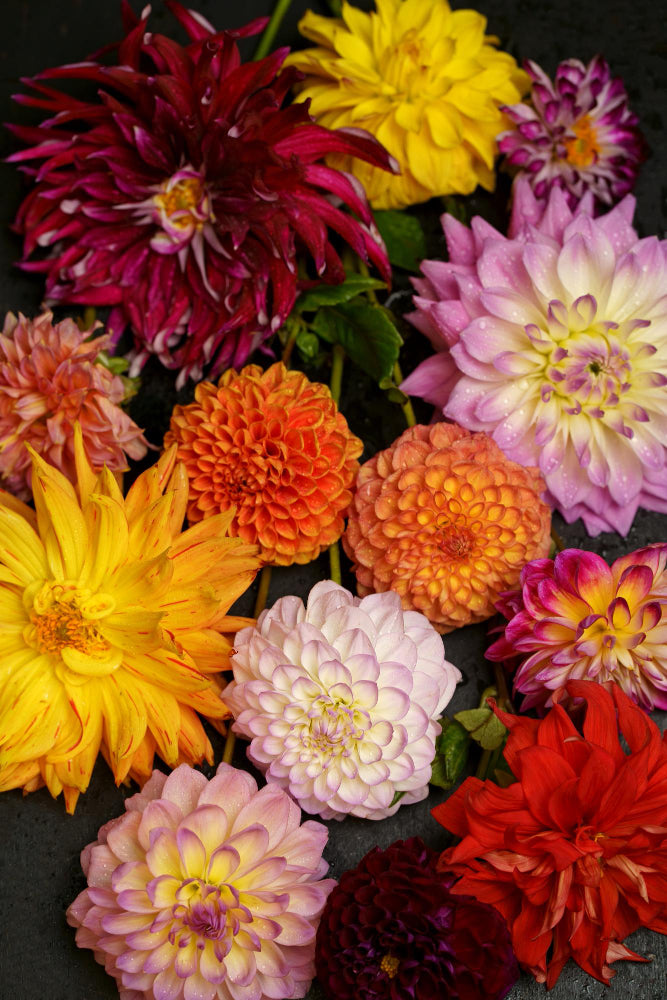
Dhalia
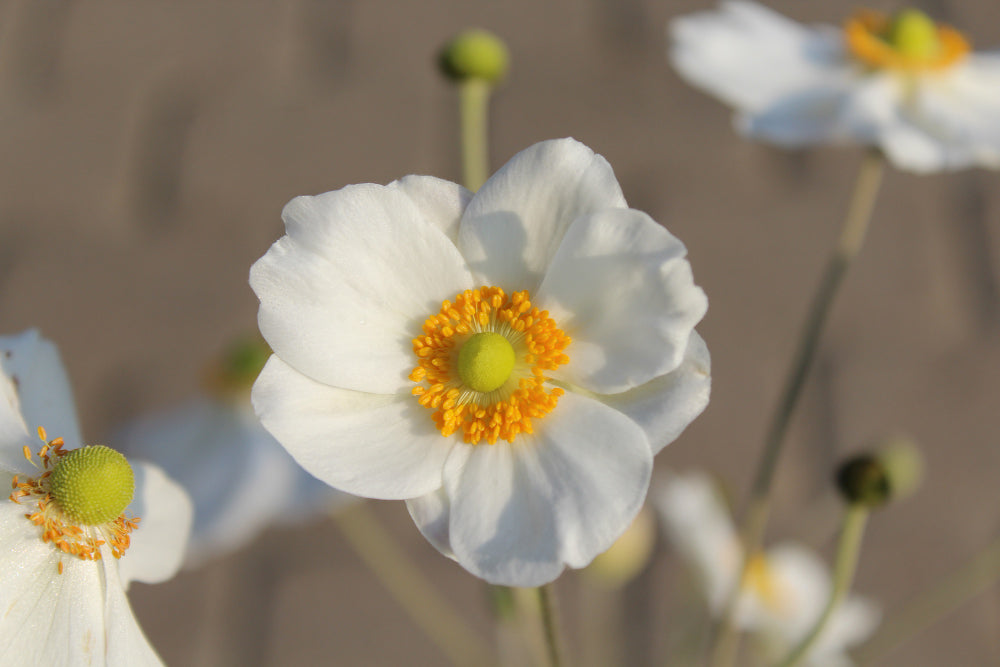
Anemone
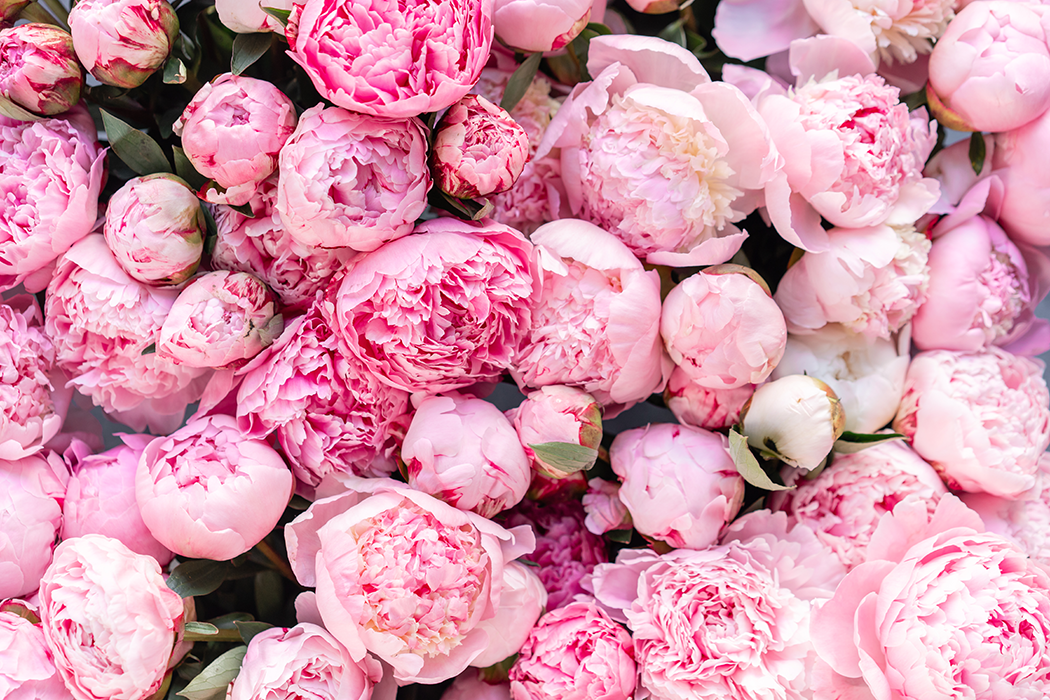
Peony
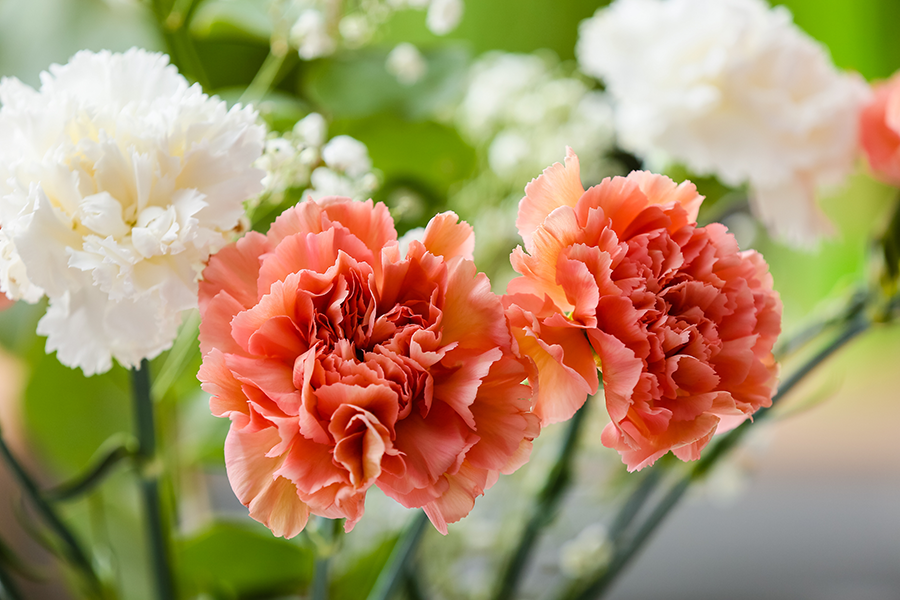
Carnation
Ideally, you want a selection of bold “statement” flowers that draw the attention, together with a range of “filler” flowers that give the crown shape and bulk and complement the statement flowers. You will also need some simple greenery to wind around the frame and some popular examples I like include:

Ivy
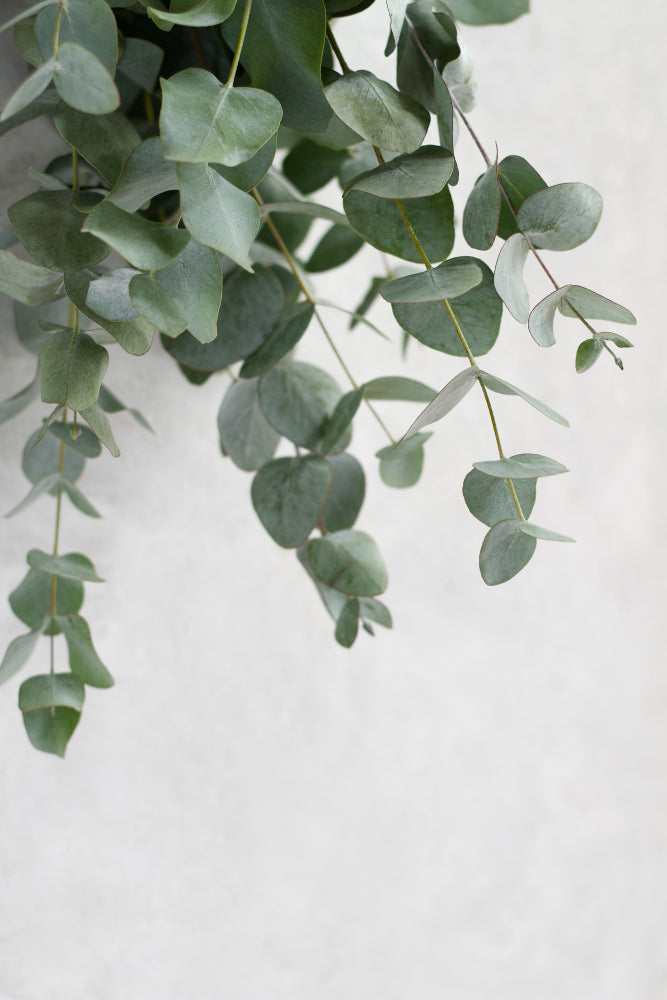
Eucalypthus

Lemon Leaf

Leather Fern
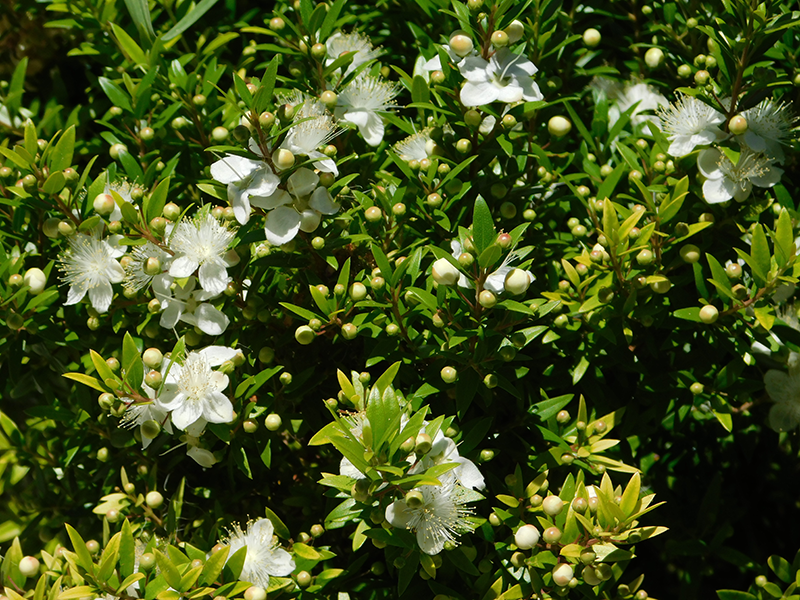
Myrtle

Dusty Miller
Before you jump into creating your wreath of flowers, think about the occasion and spend time choosing suitable greenery. For example, if you are creating a wreath of flowers for a bride and bridesmaids, perhaps white roses and other white flowers could be a great choice?
Alternatively, if you are creating a flower crown to be worn as a fashion accessory, perhaps something simpler like daisies would work perfectly? With your greenery and flowers gathered, we can move on to the next step!
Step 1 – Equipment list
I always start by gathering the equipment I need and preparing a clear working space as this makes the process run smoothly. Equipment and materials you need include:
The wreath of flowers is based on a simple circular wire frame. This has to be strong but comfortable and shouldn't cause any damage to your (or the recipient's) head). Therefore, don't use metal wire! Instead, opt for a natural wire such as grapevine wire, vine wire, or pliable twine. These work perfectly, can easily be shaped, and are relatively comfortable to wear.
Floral tape and florists wire are also essential items to secure the wire frame and fix the flowers and greenery to it. You also need a sharp pair of scissors and your materials that you will use to decorate the wreath.
Step 2 – Creating the wire frame
Next, we have to create the frame as this forms the basis of the flower garland. Take a length of your frame material and wrap it around your head – above your ears (essentially where it would sit when you wear it).
Grasp the wire where it overlaps and remove it from your head, still holding the overlap. You should now be able to see where to trim the wire to create a complete circle that doesn't overlap, but still fits comfortably on your head.
After trimming the wire, place the two ends together so they are touching and secure them using your florists tape. You should now have a complete circular frame. I usually check the frame and look for any sharp bits that could be uncomfortable to wear and trim them off flush to the wire.
Step 3 – Wrap a subtle layer of greenery around the frame
It is tempting to go ahead and wrap flowers around the frame now, but I like to create a smaller layer of greenery first. This adds volume to the flower garland and helps disguise the frame too.
Simply affix the stems of your chosen greenery to the frame sideways so the greenery flows in the same direction as the wire material. Make sure that the greenery overlaps and use your florists wire to secure it to the frame.
If you want the flowers to be the focal point of the wreath, use subtle greenery with lighter hues like ivy and myrtle.
Step 4 – Create flower bunches
We can now create bunches of flowers to affix to the frame over the greenery. For each cluster, take one statement flower and two filler flowers and wrap their stems together using your floral tape. I advise taping from the bottom of the stem all the way up to where the bloom starts for maximum security and stability.
Repeat this process until you have a handful of flower bunches – how many you need depends on the size of the wire frame and how much detail you want, but I find that typically you need at least 8 bunches.
Step 5 – Attach the flower bunches to the frame
Now all you have to do is connect the bunches of flowers to the frame! Start with the first bunch and secure it to the wire frame using your florists wire – you can use floral tape here, but florists wire can be disguised easier.
Make sure the stems are attached parallel to the wire frame. Once you have the first one secured, connect the next bunch. Make sure the flowers of the next bunch are placed over the stems of the previous bunch in an overlapping style. This makes sure that there is minimum frame showing through and you have excellent coverage for the flowers.
Repeat this process until you have covered the entire frame and your wreath of flowers for hair is complete! If you are using real flowers, you can consider placing the finished garland in the fridge to preserve it until it's ready to be worn. Just make sure you take it out and dry it off in plenty of time to avoid a cold head!

I hope you can see how easy it is to make a wreath of flowers for hair – you only need a few materials and a little spare time and you can create something beautiful either for yourself or a friend. Maybe this could be your wedding present to a friend getting married, or a birthday present for someone you know will love this fashion accessory?
Regardless of the use or purpose, make sure you have fun when making your wreath of flowers for hair and be creative!

Frequently asked questions
View moreHow to make a flower girl crown wreath?
Start with a frame made from pliable twine such as grapevine wire or vine wire – create a circle with it and secure the ends together with tape. Fix a layer of greenery to the frame using florists wire. Over that, fix clusters of flowers to the frame using florists wire.
How do you make a flower garland for your head?
You have to start with a circular frame that won't cut into your head. I advise using pliable twine like grapevine wire. Tie two ends of this together to create a circle. Add greenery to the frame to give it a base. Lastly, create clusters of flowers and fix them to the wire frame using florists wire to create the look.
What frame can you use to make a wreath of flowers for hair?
Don't use metal wire! This can cut into your head and be uncomfortable to wear. Instead, pliable twine, vine wire, or grapevine wire are the best options. These are still flexible and can be wrought into a circle but are also relatively comfortable when sitting on your head.
What flowers last longest in hair?
Hardy flowers like orchids and some tropical variants will stay fresh for the longest whereas most common garden flowers will only last for a few hours in a flower garland on your head. You can mist them (when the garland isn't on your head!) to stop them from drying out.
You have 0 items in your shopping bag